Most FoodSaver problems start with a simple issue: the bag is out of position, the seal area is wet or wrinkled, the drip tray is full, or the sealer needs to cool. Start by checking your exact model number and matching it to the FoodSaver manuals and quick-start guides. Latch positions, light behavior, settings, and replacement-part fit vary by model.
Start with these quick checks
- No lights or response: Make sure the plug is seated, the outlet works, the appliance is switched on, and the lid is closed or latched as your model requires. If the unit responds intermittently, inspect the latch rather than forcing it.
- Pump runs, but the bag stays puffy: Put the open end of the bag into the vacuum channel or removable drip tray as directed. Keep the bag flat and clear of folds at the seal area; check that a roll-made bag has one end sealed. Inspect the gasket area for debris or damage and try a fresh bag if you suspect a puncture.
- Seal fails or leaks: Check the inside of the bag mouth for moisture or food residue and smooth out any wrinkles. Cut the bag open, wipe the inside top clean and dry, then reseal. Use a new bag if the film is punctured.
- Seal light flashes after repeated use: Stop and let the unit cool, following the timing and recovery steps in its manual. FoodSaver advises at least 20 seconds between seals in its VS3000 FAQ; its countertop overheating guidance specifies a 20-minute cooldown for an overheated unit. Neither timing should be assumed for every model.
- Liquid in the tray or a poor wet-food seal: Empty and dry the removable drip tray before reinstalling it. Use a Moist or Liquid setting only if your model offers it, and follow its food guidance. The settings are not interchangeable across models.
- Accessory container will not vacuum: Check that the lid is aligned and secured all around, and that the valve and gasket are clean. Position the handheld sealer over the container valve as the instructions show.
Why won’t my FoodSaver appliance start?
Check the plug, outlet, power switch, and lid or latch first. If the model’s instructions allow it, lightly press the lid down when closing it; do not force a latch that will not engage. On the FM5460, FoodSaver says a full removable drip tray can prevent vacuuming and may cause several mode lights to flash, so empty and dry the tray. A red Seal indicator can also prevent operation until the unit cools on some models; check the model-specific instructions rather than assuming a particular light means the same thing across the range.
Why isn’t the vacuum pulling air out of the bag?
The open bag end needs to sit correctly in the vacuum channel or tray, with enough space between the food and the opening. FoodSaver’s cited VS2100 instructions and VS3000 guidance call for at least 3 inches (7.62 cm) of headspace; confirm the requirement for your model. Smooth wrinkles where the bag crosses the sealing strip, and check the upper and lower gasket areas for dirt or debris. If removable gaskets are loose, inspect that they are seated correctly; do not remove parts unless your manual permits it. A pinhole can defeat vacuuming even when the setup looks right, so test with a fresh bag.
For thicker soups or sauces, use Liquid mode only on a model that has it. FoodSaver advises keeping the bag walls above the liquid free of drips and food debris. Do not assume your sealer has this mode.
#1 Best Overall
- Long-lasting Freshness: Keeps food fresh in the freezer up to 5x longer, preventing freezer burn
- Space-efficient: Stores vertically to save valuable countertop space
- Less Bag Waste: Seals with 35% less bag waste compared to previous FoodSaver models
- Customizable Settings: Dry and Moist settings ensure an airtight seal for different types of food
- Additional Features: Built-in alignment tray for correct bag placement; can be connected to a handheld sealer
Why won’t the bag seal, or why is it melting?
Crumbs, grease, moisture, or folds at the bag mouth can interfere with a sound heat seal. Clean and dry the inside top of the bag, then position it flat across the sealing area. Liquids can be drawn upward during vacuuming, and moisture between the bag layers can cool the heat seal. Use Moist or Liquid mode only when your model provides the appropriate setting: FoodSaver’s general FAQ distinguishes Moist mode for some foods with moisture from soups and sauces, while the VS5900 documentation covers a Liquid mode for suitable tasks.
If the Seal light flashes after heavy use, let the unit cool using the procedure for that model. FoodSaver’s VS3000 FAQ says, “Always allow 20 seconds between seals.” That is VS3000 guidance, not a universal timing rule.
Rank #2
- SAVE MONEY AND SEAL FRESHNESS IN: MEAT PRESERVED WITH THE FOODSAVER SYSTEM IN THE FREEZER CAN LAST UP TO 3 YEARS AND STILL TASTE FRESH, FLAVORFUL, AND FREEZER BURN FREE; PREP AHEAD MEALS, LEFTOVERS, AND PRODUCE STORED IN THE FRIDGE WILL STAY FRESH UP TO WEEKS LATER INSTEAD OF SPOILING IN DAYS.Includes: (1) 11""x10' vacuum seal roll (3) 1-quart vacuum seal bags (2) 1-gallon vacuum seal bags (3) 1-quart vacuum zipper bags (2) 1-gallon zipper bags
- AUTOMATIC BAG DETECTION: AUTOMATIC BAG DETECTION MAKES VACUUM SEALING EASIER THAN EVER: SIMPLY PUT THE BAG IN THE VACUUM CHAMBER AND THE MACHINE DOES THE REST TO ENSURE YOUR FOOD STAYS FRESH AND FLAVORFUL
- SIMPLE TO USE: BUILT IN ROLL STORAGE AND CUTTER LETS YOU EASILY MAKE CUSTOM SIZED BAGS TO FIT WHATEVER YOU SEAL, WHILE LED LIGHT INDICATORS EASILY GUIDE YOU THROUGH THE VACUUM SEALING PROCESS
- VERY CONSISTENT SEALING: GUARANTEED TO REACH AN OPTIMAL VACUUM LEVEL AND AIRTIGHT SEAL; THE V4440 IS DURABLE, HIGH QUALITY, AND BACKED BY A 5 YEAR LIMITED WARRANTY
- AUTOMATIC MOISTURE DETECTION: SMART TECHNOLOGY AUTOMATICALLY DETECTS MOISTURE AND SWITCHES TO THE CORRECT MODE TO ENSURE AN AIRTIGHT SEAL IS ACHIEVED. THE PATENTED REMOVABLE DRIP TRAY WILL CATCH ANY OVERFLOW LIQUID AND IS DISHWASHER SAFE, MAKING THIS KITCHEN APPLIANCE EASY TO CLEAN AND MAINTAIN
Why did the bag lose its vacuum?
Inspect the seal for wrinkles and for moisture, grease, crumbs, powder, or other food residue. Reopen the bag, clean and dry its inside top, and reseal it. Look for punctures, especially near sharp food; replace damaged film and cushion sharp edges before sealing.
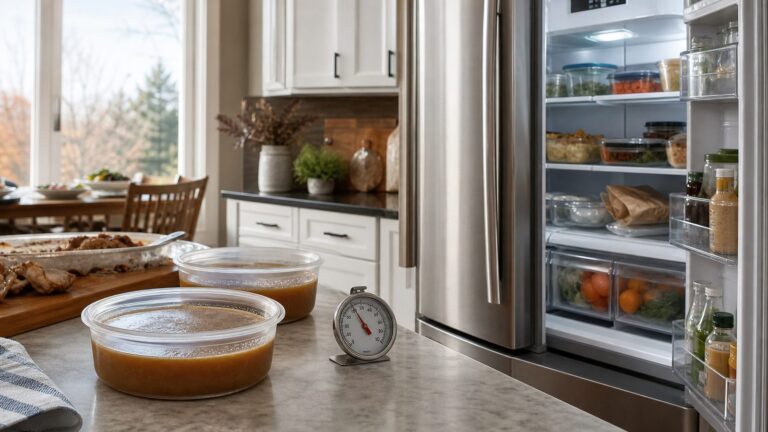
FoodSaver also notes that fermentation or natural gas release can make a bag expand. Its guidance says food may have begun to spoil and should be discarded. Do not treat resealing as a way to make questionable food safe.
The Tool Desk
Outbyte PC Repair FREEClear out junk files and repair common Windows errorsFree Scan →Outbyte Driver Updater FREEScan for outdated or missing drivers - takes under a minuteDriver Scan →Rank #3

- Dollar Saver: Preserve food up to 3 years in the freezer, maintaining its freshness and taste
- Bag Optimization: Minimizes bag waste with a built-in roll cutter for custom-sized bags
- Consistent Sealing: Dual heat sealing strips ensure optimal vacuum level and an airtight seal
- Durable: High-quality machine backed by a 5-year limited warranty
- Accessory Friendly: Compatible with the handheld sealer and other FoodSaver accessories for varied use
To check a suspect bag, FoodSaver describes sealing both ends without vacuuming, briefly submerging it, and watching for bubbles from the bag or seal. Bubbles indicate a defective or previously damaged bag. See the manufacturer’s How to Use FAQs.
Why won’t a container or handheld accessory vacuum?
Make sure the container lid is aligned and closed on all sides, then inspect its rim for cracks or scratches. Clean the valve and lid gasket. Position the handheld sealer directly over the valve and hold it as directed; on some retractable handheld models, tipping the unit can activate a liquid-protection float. Accessory and marinate controls differ, so use the instructions for your appliance and accessory combination.
Rank #4
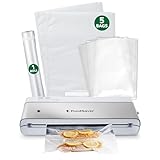
- Extended Freshness: Keeps food fresh in the freezer up to 5x longer
- Space Efficient: Stores vertical to save valuable countertop space
- Reduced Bag Waste: Seals with 35% less bag waste compared to previous models
- Customized Settings: Unique Dry and Moist settings for different food types, ensuring an airtight seal
- Multi-functional: Connects to a FoodSaver Hand Held Sealer (sold separately) to sous vide or preserve fridge and pantry food
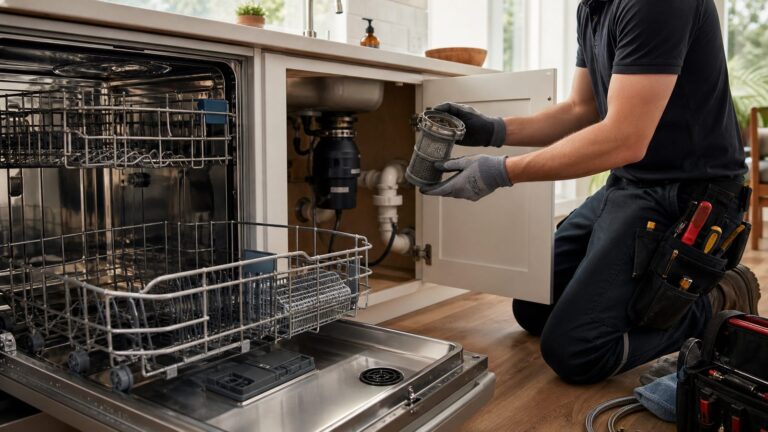
What should I do about a loose, dirty, or torn gasket?
FoodSaver describes its foam gaskets as parts around the vacuum chamber that help maintain an airtight seal. Clean them as the manual directs and check their seating and condition. The manufacturer recommends replacing gaskets every year, but this is general guidance, not a measured lifespan; availability and removability depend on the model. Some lower gaskets are removable and may be purchased, while FoodSaver directs upper gasket concerns to customer service. Check the manual before removing or ordering a part; a generic gasket may not fit.
When to stop troubleshooting
- Use the manual for your exact model whenever the latch, indicator light, setting, cooldown, bag placement, or part compatibility is unclear.
- Do not force the lid or keep running a unit that indicates overheating; follow the model’s cooldown and recovery instructions.
- If cleaning, correct bag placement, and a fresh undamaged bag do not resolve the problem, or a gasket or accessory appears damaged, contact FoodSaver support or consult the model manual for the appropriate service or replacement part.
Official troubleshooting references include FoodSaver’s VS5900 troubleshooting table, FM5460 FAQ, V2000 Series FAQ, Vacuum Sealer General Questions FAQ, and Gaskets FAQ.
Do these 3 things before closing this tab:
1Clear out junk files and repair common Windows errors2Scan for outdated or missing drivers - takes under a minute3Repair Windows errors before they cause bigger problemsQuick Recap
Best Value

- JLHSWENND Vacuum Sealer Machine
Product prices and availability are accurate as of the date/time indicated and are subject to change. Any price and availability information displayed on Amazon at the time of purchase will apply.